Re: Repaired Flourescent Light
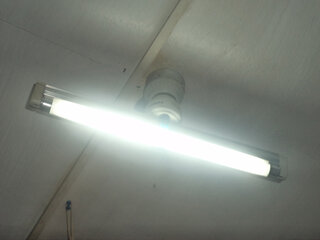
ts ok na po yung spare na 1u bulb at ipinalit ko sa 3watt akari night light na napundi, gumana ulit.
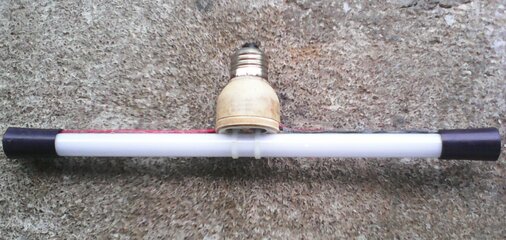
eto po yung pix...
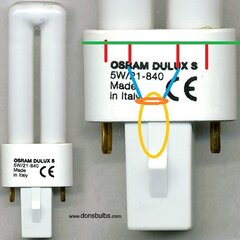
1. yung green line po was cut with heated knife
2. apat pa rin yung wire na naka-connect sa bulb (red lines)
3. pero yung dalawa sa gitna tila may naka-connect na 2 resistor (blue line)
sa dulo (orange and yellow)
4. tinanggal ko yung resistor at isi-nolder apat na paa sa base at gumana ulit.
maraming salamat sa idea ts.
ts ok na po yung spare na 1u bulb at ipinalit ko sa 3watt akari night light na napundi, gumana ulit.
eto po yung pix...
1. yung green line po was cut with heated knife
2. apat pa rin yung wire na naka-connect sa bulb (red lines)
3. pero yung dalawa sa gitna tila may naka-connect na 2 resistor (blue line)
sa dulo (orange and yellow)
4. tinanggal ko yung resistor at isi-nolder apat na paa sa base at gumana ulit.
maraming salamat sa idea ts.

")